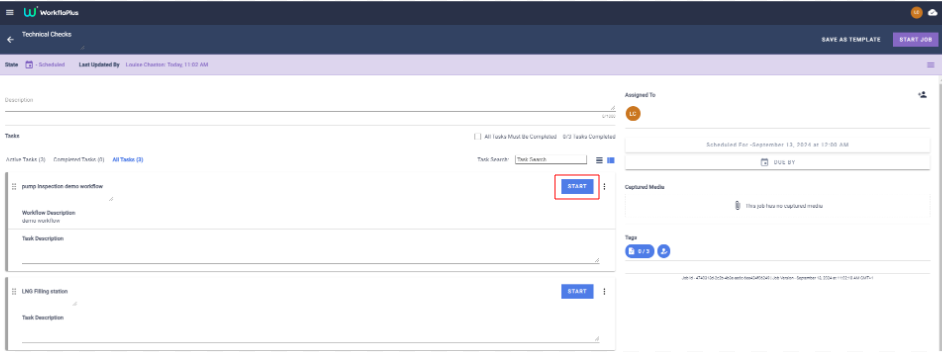
To start a job you will need to make sure that all the associated Tasks (Workflows) have been downloaded. These can either be downloaded individually as you go through the job or you can hit the DOWNLOAD ALL button top right to download all of them in one go.
Once downloaded, you can begin to complete the Task(s) within the Job. Although the order has already been pre-defined by the person creating the Job, if you have the correct permissions you can reorder the tasks on the list should you need to.
To start a Task within your job, hit START and then follow through and complete the steps.
Missing Steps
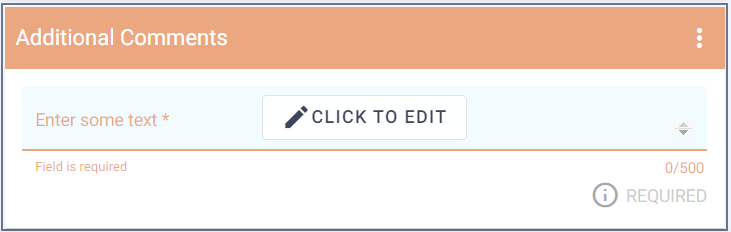
If you choose to navigate past some of the steps in the Task and complete some later sections it is still possible to navigate back to the ‘missing’ steps. Any steps that have not been completed will be highlighted in orange and you will have the option to "Click to Edit" so you can complete these steps.
TIP: When working collaboratively it is easy for users to see which steps have already been completed and which have been missed.
Editing Steps
Even if a step has already been completed, it is still possible to to “Click to Edit” if changes need to be made, for example a Manager may need to make a few changes before they are happy to sign off the Job.
When you have completed all steps, you have the option to either Finish Task or you can pause the job using the pause button in the top left corner. Pausing the job will keep that job open and enable it to be resumed and edited at a later time if needed.

For example within a collaborative working environment, the user may decide to pause the job to give another user assigned to that job the opportunity to go in and make any changes if needed, review the entries before signing off.
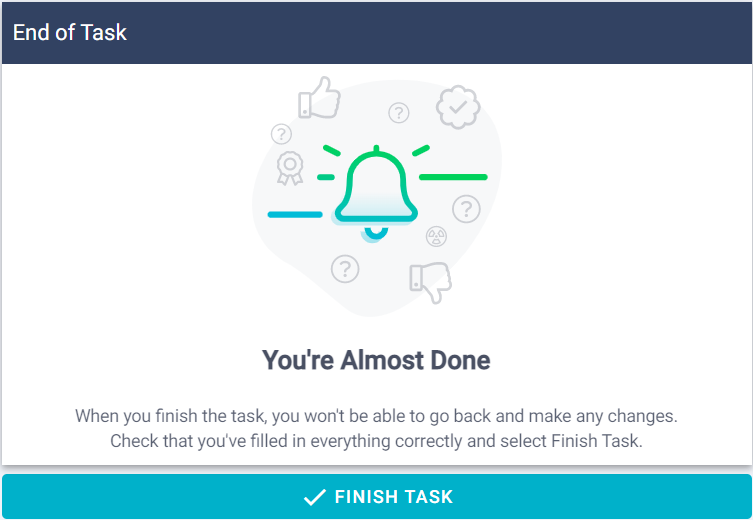
Once you have clicked Finish Task it is no longer possible to edit any part of that specific workflow. It will be displayed as View only in the job panel.
Clicking on the 3 dots to the right of the panel will allow you to view the job details (Author/Version) and download the PDF report.
Clicking on VIEW will display the detailed Job data in a new panel. See Viewing Job Data for more information.
NOTE: If you have any data integrations set up for this particular Workflow then they will trigger as soon as the Job is closed.

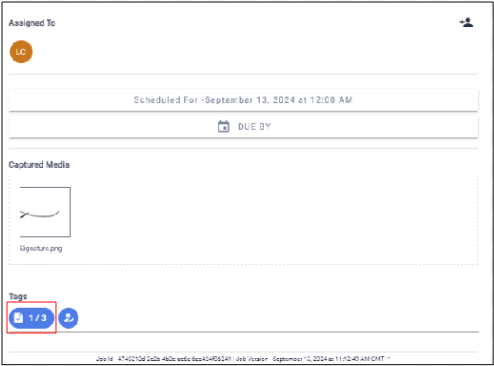
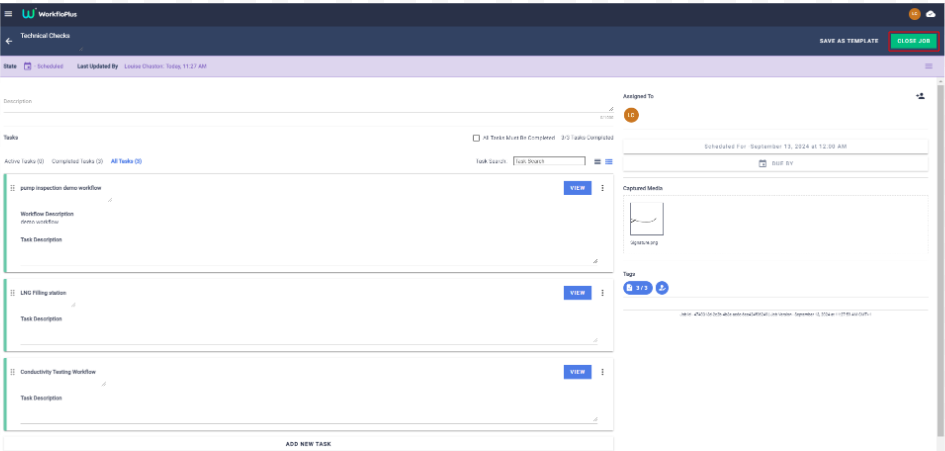
As workflows are checked off and completed with your job, you will see them start to show as completed in the Task Summary icon. In our example job below we have 3 workflows. When the first workflow is completed the Task Summary icon will update from 0/3 to 1/3.
Continue navigating through each of the workflows and completing all tasks that have been assigned. For Jobs that have multiple Tasks, use the menu to filter Active, Completed and All Tasks. You can also locate Tasks more quickly by using the Task Search function.

Once you have completed your Tasks, you can close down the job by clicking CLOSE on the top right side of the Job Panel. If All Tasks Must Be Completed is enabled it will not be possible to CLOSE the Job until everything has been completed. If it is disabled then it will be possible to CLOSE the Job at any time.
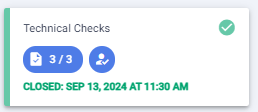
Once the CLOSE button has been selected, the status of this job will then update to CLOSED on the Home Page, as follows:
Running a Job (computer)