When a job has been completed, WorkfloPlus automatically generates reports. What a ‘report’ contains is entirely up to you. A report might be a detailed job report showing all the completed steps in the job (much like our default report template), it could cover a specific part of a workflow (such as a health & safety check), or it could even just be an automatically generated certificate.
Customised report templates are built using the WorkfloPlus report editor. It uses a mixture of HTML and CSS to build the template, and also takes advantage of Handlebars to pull in data conditionally. It is completely within your control.
WorkfloPlus V3 enables users to create Jobs comprising multiple Tasks. For example, a machine installation Job might be built up using a health and safety check, an installation process, followed by a check and sign off procedure - so 3 Tasks in total.
The new reporting function enables users to create a report template based on all of the Tasks contained in a Job.
Default (EXAMPLE) Report: this is a standard report template which simply brings in a header page with the Task Headings, followed by all Job data from each Task in turn.
Custom Report: this is a fully custom template which can be built to bring in specific steps from each individual Task to create one summary report.
In order to access the V3 Report Editor, please navigate to Reports via the main menu:

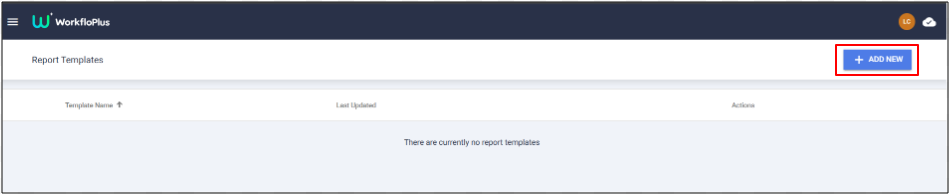
This will bring up the Report Templates menu. If you have previously created report templates you will see them listed in the main panel. To create a new template simply click on the ADD NEW button.
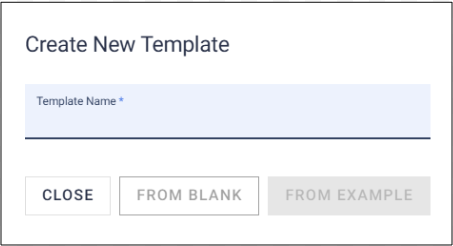
You will then be asked to enter a template name. This should not be the same as the name as any other report template in your Report Library. You can choose to create a new blank template or you can use the code for the standard WorkfloPlus template as a starting point.
The 'EXAMPLE' WorkfloPlus report template has been designed to automatically create a report that includes all Tasks generated from a Job Template. Use the Drop Down arrow to select which Job you would like to view in the right hand panel.
In the example below the Job selected includes 2 Tasks and the completed Job Data will display as 2 Task headings in the first page and then display all steps from Task 1, followed by all steps from Task 2.
EXAMPLE template on launch:

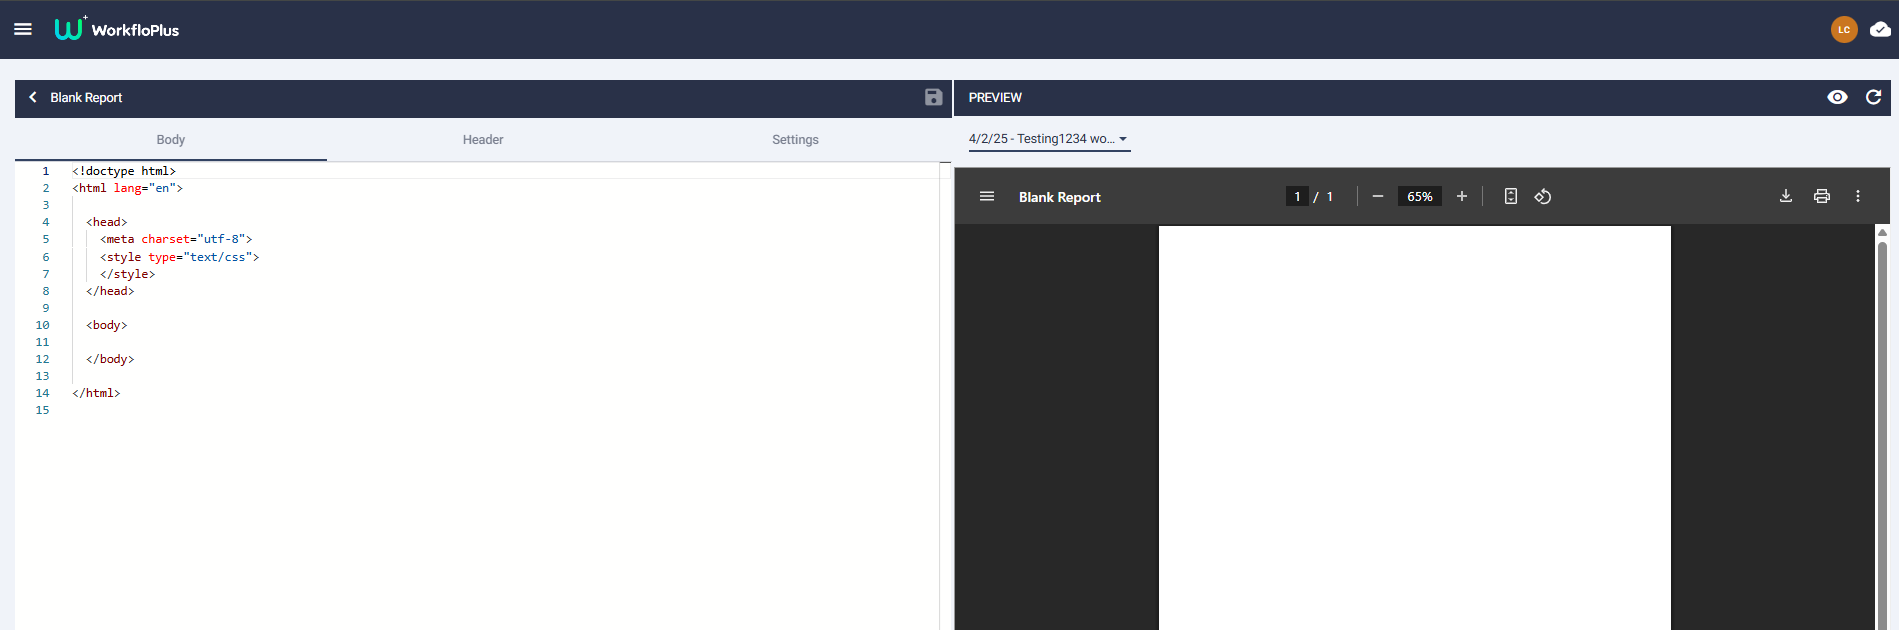
The blank template will only bring in the HTML header steps so will not display anything at first because there is no Step Data in the code.
BLANK template on launch:
Once you have entered a template name, click on the Save button to continue. You can then select the template from the main menu to open and edit, as required.
The code is managed on the left hand side of the panel and the preview is presented on the right hand side.
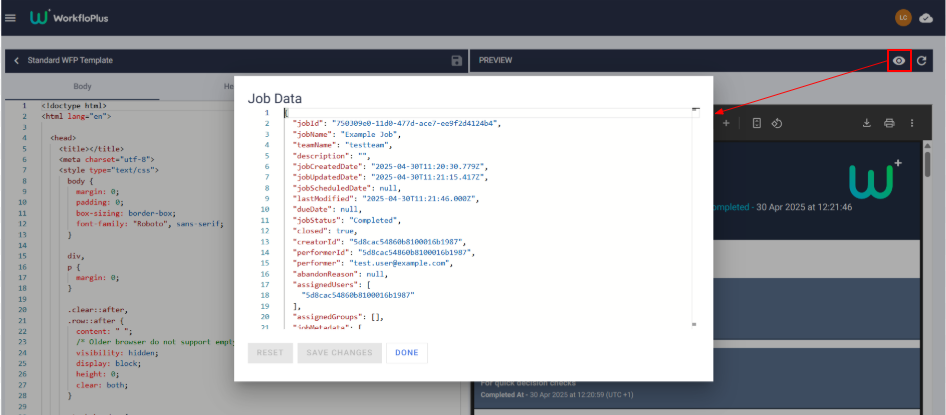
The 'eye' icon on the top right hand side of the preview panel will display the selected job data which is useful for referencing and copying Step IDs.
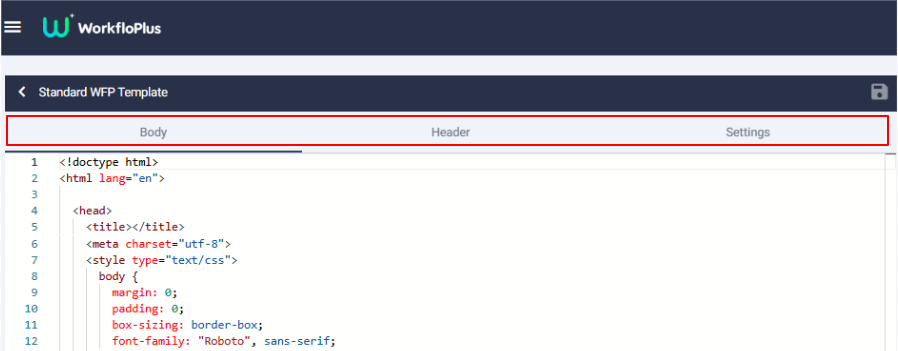
Body, Header and Settings
You will see references in the following instructions to the ‘Body’, ‘Header’ and ‘Settings’ tabs. These are the tabs at the top of the left-hand section. The Header sections cover the section at the top of each page of the report, the Body section covers the rest of the content on each page of the report, and the Settings allow you to adjust the page orientation and add a description. Toggle between them to adjust the settings/code as required.
Changing the Logo
To better secure WorkfloPlus, the linking of external images is forbidden. Instead, images must be encoded using a Base64 Image encoder.
To change the logo displaying on the report, go to the Header tab and look towards the bottom of the code for a line like the following or alternatively just do a simple search for the word ‘logo’.

To encode an image to embed as a logo, you must first have a .png or .jpg copy. The use of .svg format images is not fully supported and may give undesirable results.
With your image file handy, visit a Base64 Image encoder and either drag/drop your image anywhere on the page, or use the file browser.
Once your image has been encoded, click copy on the HTML usage code, then back in the Report Template Editor paste this content into the logo section of the header ensuring the paste is between the speech marks.
After pasting in the HMTL code into your report editor please delete <img src= from the beginning of the code for it to work correctly. If there are any issues with the code then it will be displayed in red text. If the text is blue then there are no issues and your new logo should be displayed in your sample report on the preview screen.
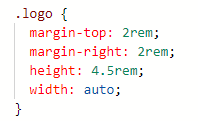
To adjust the size/location of the logo go to the Body tab and locate the following code and adjust the settings as needed.
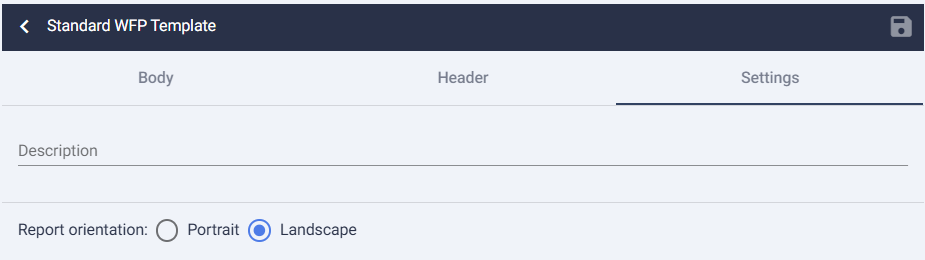
Changing the Page Orientation
To display the report in landscape mode, go to the Settings tab in the Report Template Editor, and select Landscape for the Report Orientation.
Changing the Font
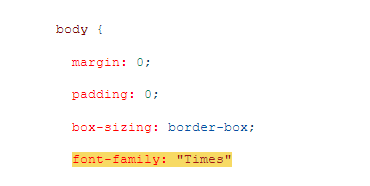
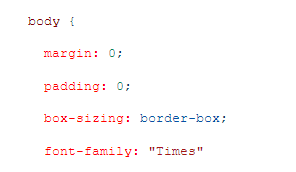
To change the font of the report, go to the Body tab, and then find or search for the body selector:
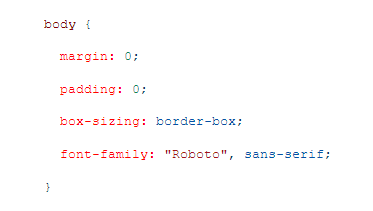
At the bottom of that block of code, you can change the font-family property to suit your needs. For example:
Changing the Font Sizes
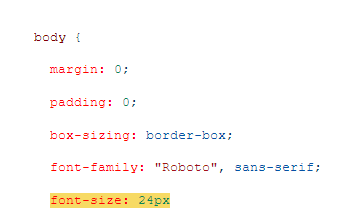
To change the default font size of the template, go to the Body tab, and then find or search for the body selector and make the required changes:
Add a new CSS property for font-size with the appropriate value to that block of code. For example:
Changing the Report Colours
To change the background colour in the header go to the Body tab and then find or search for the header selector:
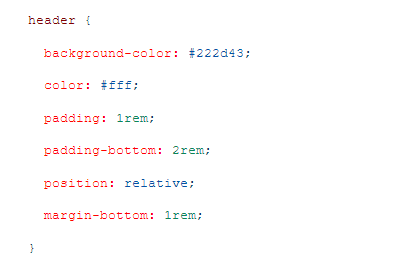
You can then change the code from #222d43 to your branding colours using a HEX Code of your choice.
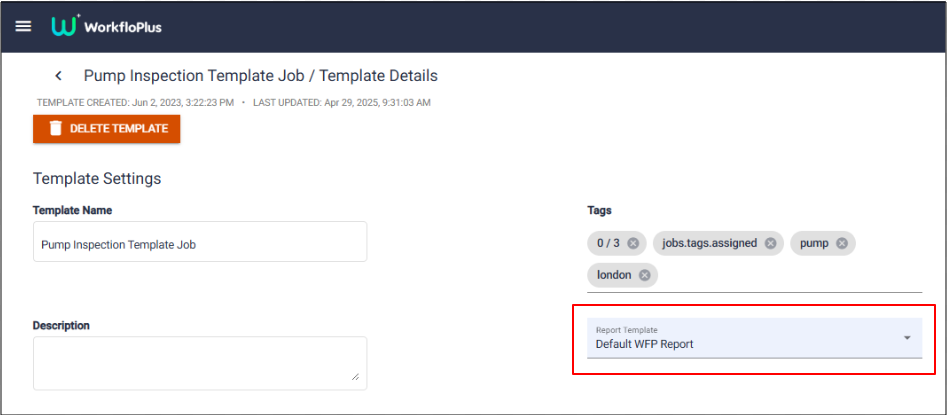
Adding a Report to a Job Template
Once the report template is completed, you can save it via the save button at the top of the coding panel and associate it with a Job Template. Visit Job Templates from the main menu, select the template you wish to use and add the required report template from the dropdown list.
NOTE: Multiple custom reports can be added to a single Job Template, if required.
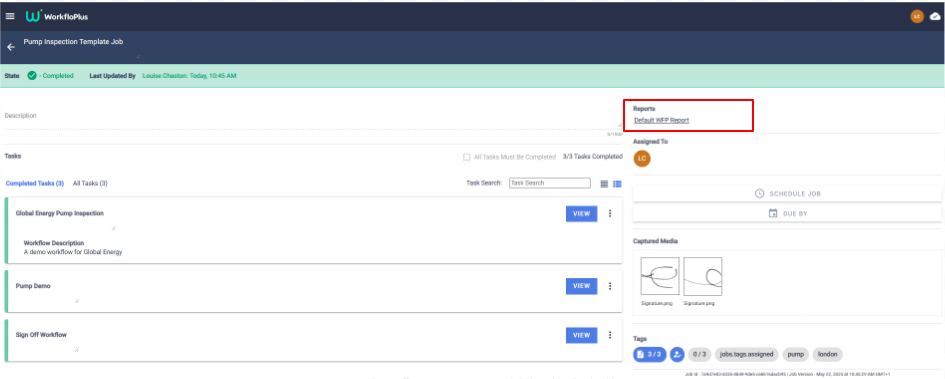
Any Jobs completed using this Job Template will automatically generate the custom report and this will be displayed on the top right hand side of the Job Panel for quick and easy download.
Reporting